
Logitech Extreme 3D Pro Windows 11: How to Make It Work
Introduction
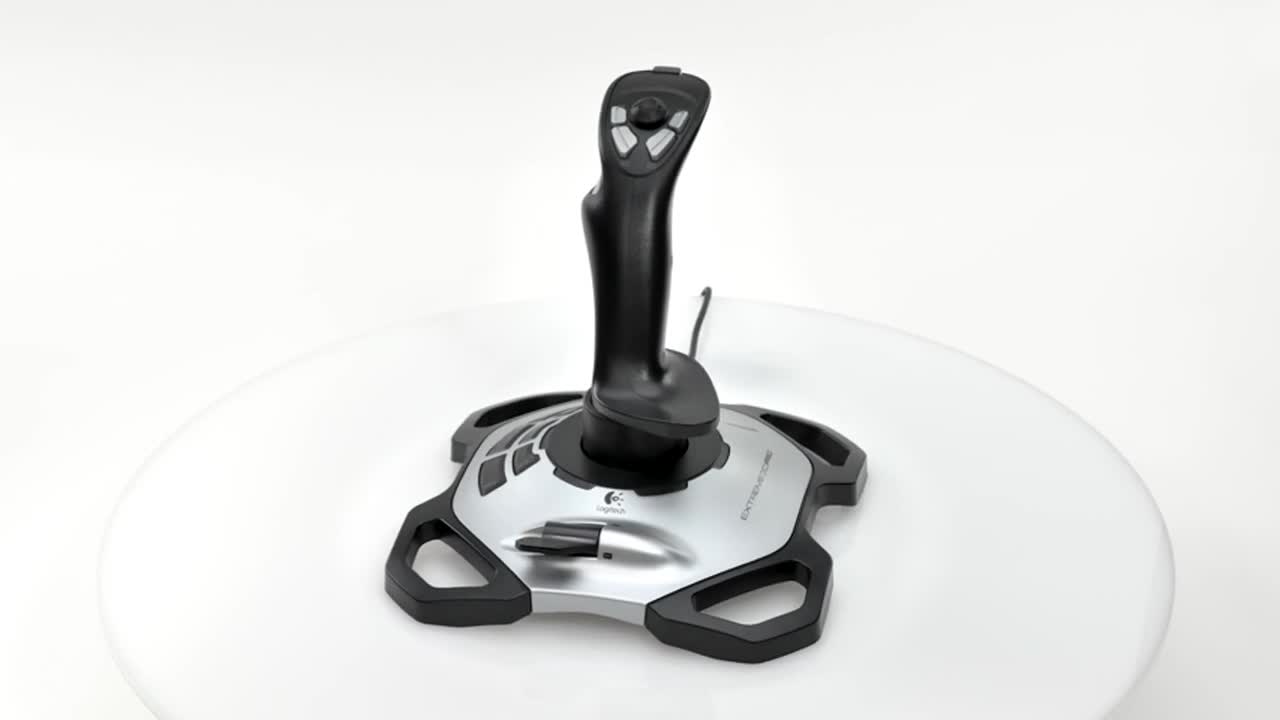
The Logitech Extreme 3D Pro is a popular joystick among gamers for its ergonomic design and responsive controls. However, with the release of Windows 11, some users have reported issues with getting it to work. In this article, we will walk you through the steps to make your Logitech Extreme 3D Pro compatible with Windows 11.
Step 1: Install the Latest Drivers
The first step to getting your Logitech Extreme 3D Pro to work on Windows 11 is to ensure that you have the latest drivers installed. To do this, you can visit the Logitech website and download the latest driver for your joystick. Make sure to select the correct version for your operating system.
After downloading the driver, double-click on the file to begin the installation process. Follow the on-screen instructions to complete the installation. Once the installation is complete, restart your computer.
It is important to keep your drivers up-to-date as they contain important fixes and improvements that can help with compatibility issues.
Step 2: Check the Joystick Properties
After installing the latest drivers, the next step is to check the joystick properties to make sure that it is recognized by your system. To do this, follow these steps:
- Click on the Start button and select Settings.
- Select Devices and then click on Bluetooth & other devices.
- Under the "Related settings" section, click on "Devices and printers".
- Find your Logitech Extreme 3D Pro joystick and right-click on it.
- Select Game controller settings from the context menu.
If your joystick is recognized by your system, you should see it listed in the Game Controllers window. You can also click on Properties to test your joystick and make sure that all the buttons and axes are working correctly.
Step 3: Configure the Joystick for Games
After ensuring that your joystick is recognized by your system, the next step is to configure it for games. To do this, follow these steps:
- Open the game that you want to play.
- Go to the Options or Settings menu and look for a section on controllers or input devices.
- Select your Logitech Extreme 3D Pro joystick from the list of available controllers.
Once you have selected your joystick, you can configure the buttons and axes to your liking. Most games allow you to customize the controls, so you can set up your joystick in a way that feels comfortable and intuitive to you.
It is important to note that some games may require additional setup or configuration to work with your joystick. If you are having trouble getting your joystick to work with a specific game, check the game's documentation or forums for tips and advice.
Conclusion
The Logitech Extreme 3D Pro is a great joystick for gaming, but it can be frustrating when it doesn't work on your system. By following these simple steps, you can ensure that your joystick is compatible with Windows 11 and configured correctly for games.
If you are still having issues with your joystick, you can contact Logitech support for further assistance. With the right setup, you can enjoy a more immersive gaming experience with your Logitech Extreme 3D Pro on Windows 11.